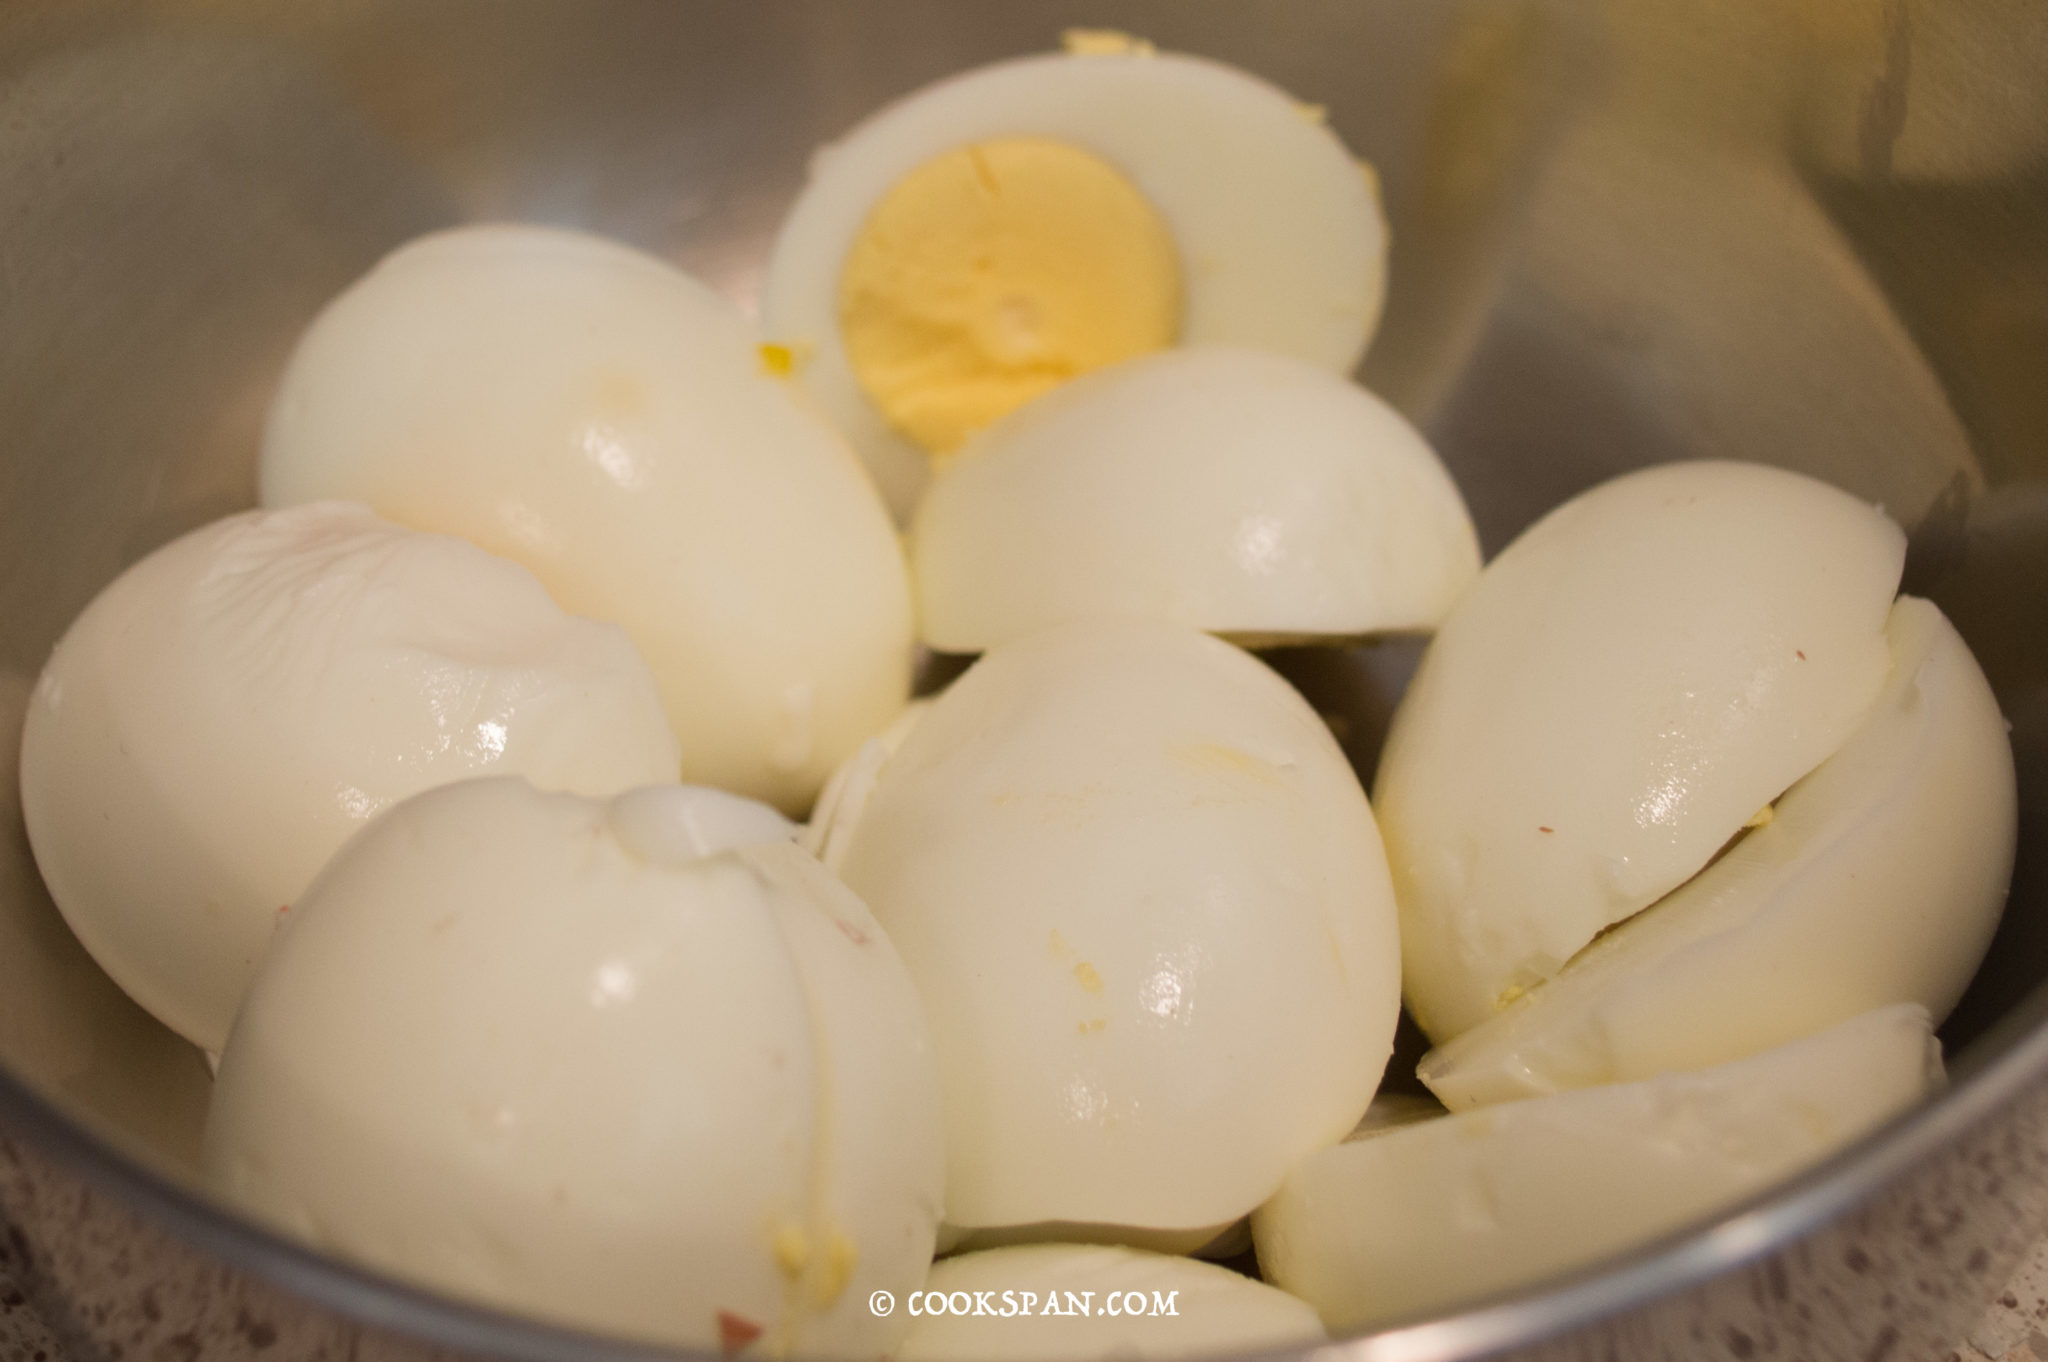
Quick and Easy Hard-Boiled Eggs: Olla GM to the Rescue

Quick and Easy Hard-Boiled Eggs: Olla GM to the Rescue
Are you tired of spending too much time boiling eggs on the stove? Look no further, because the Olla GM is here to save the day! With this amazing kitchen appliance, you can easily make perfect hard-boiled eggs in no time. This recipe will guide you through the process, providing all the necessary details for a quick and easy meal.
Ingredients:
- 6 large eggs
- Water
- Ice
Preparation:
Step 1: Place the 6 large eggs in the Olla GM’s cooking pot. Make sure they are evenly spaced and not touching the sides of the pot.
Step 2: Add enough water to the pot to cover the eggs completely. The water should be about 1 inch above the eggs.
Step 3: Close the lid of the Olla GM and set the cooking time to 5 minutes at high pressure, with the temperature set to 120°C.
Step 4: Once the cooking time is up, release the pressure manually by turning the pressure valve to the venting position. Be careful as hot steam will escape from the pot.
Step 5: Open the lid and carefully transfer the eggs to a bowl filled with ice water. Let them sit in the ice water for at least 5 minutes to cool down and stop the cooking process.
Step 6: Gently tap the eggs on a hard surface to crack the shell. Start peeling from the wider end of the egg, as it tends to be easier to remove the shell from this side.
Step 7: Rinse the peeled eggs under cold water to remove any remaining shell pieces.
Step 8: Your quick and easy hard-boiled eggs are now ready to be enjoyed! You can eat them as they are, sprinkle some salt and pepper on top, or use them in various recipes.
With the Olla GM, you can save time and effort when it comes to making hard-boiled eggs. No more waiting for the water to boil or worrying about overcooking. The Olla GM ensures perfectly boiled eggs every time, leaving you with more time to enjoy your meal.


