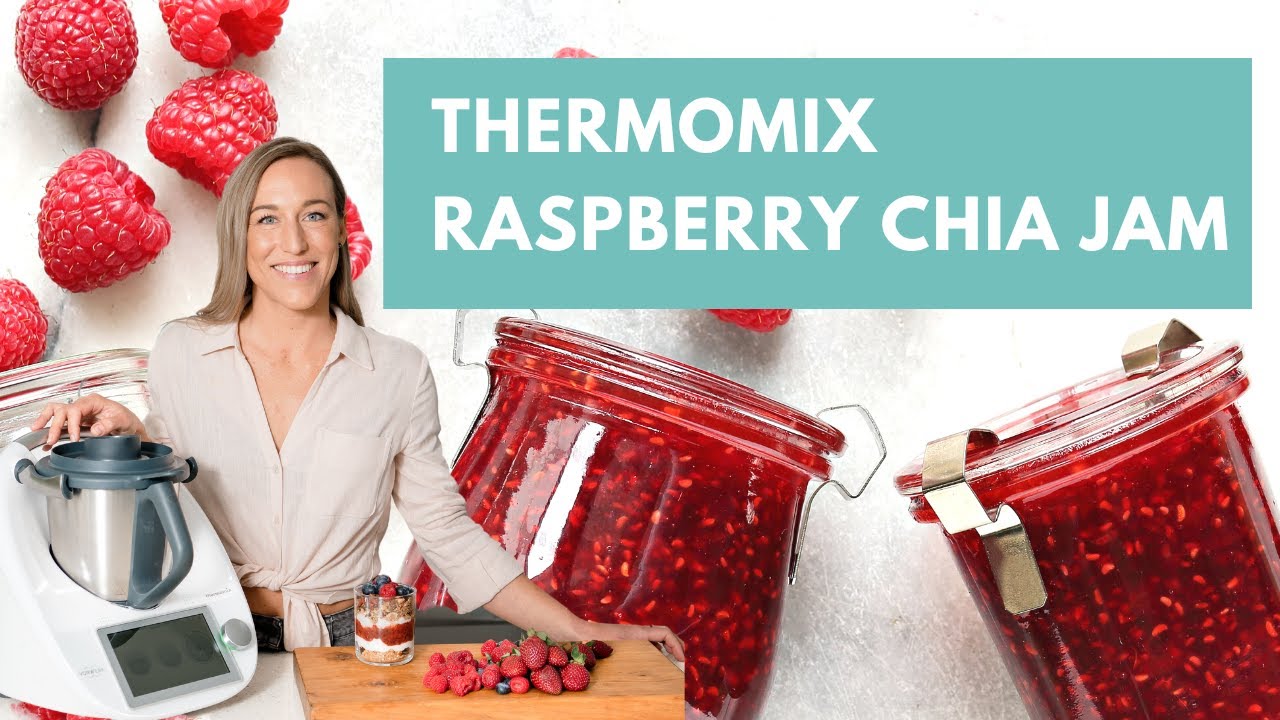
Delicious Raspberry and Chia Jam Recipe Made Easy with Thermomix

Delicious Raspberry and Chia Jam Recipe Made Easy with Thermomix
Are you craving a delicious and healthy jam recipe? Look no further! This Raspberry and Chia Jam made with Thermomix is the perfect option for you. Packed with the goodness of fresh raspberries and chia seeds, this jam is not only tasty but also packed with nutrients. Plus, it’s super easy to make using your Thermomix. Let’s get started!
Ingredients:
- 500g fresh raspberries
- 100g chia seeds
- 200g sugar
- Juice of 1 lemon
Preparation:
1. Prepare the raspberries: Start by washing the raspberries thoroughly under cold water. Pat them dry and remove any stems or leaves. Set aside.
2. Cook the raspberries: Place the raspberries in the mixing bowl of your Thermomix. Cook them at 100°C for 5 minutes, stirring occasionally. This will help break down the raspberries and release their natural juices.
3. Blend the raspberries: After cooking, blend the raspberries in the Thermomix for a few seconds until you achieve a smooth consistency. Make sure to scrape down the sides of the bowl to ensure all the raspberries are blended properly.
4. Add the chia seeds: Once the raspberries are blended, add the chia seeds to the mixing bowl. Mix them well with the raspberry puree using the Thermomix’s spatula. Let the mixture sit for a few minutes to allow the chia seeds to absorb the liquid.
5. Add the sugar: After the chia seeds have absorbed some of the liquid, add the sugar and lemon juice to the mixing bowl. Stir everything together using the Thermomix’s spatula until well combined.
6. Cook the jam: Set your Thermomix to 100°C for 20 minutes, with the measuring cup off. This will allow the jam to thicken and the flavors to develop. Make sure to stir the jam occasionally to prevent it from sticking to the bottom of the bowl.
7. Sterilize the jars: While the jam is cooking, sterilize your jars by washing them with hot soapy water and rinsing them well. Then, place them in a preheated oven at 180°C for 10 minutes to ensure they are completely sterilized.
8. Test the jam: After 20 minutes of cooking, you can test the consistency of the jam by placing a small amount on a cold plate. If it sets and wrinkles when touched, it’s ready. If not, continue cooking for a few more minutes.
9. Fill the jars: Once the jam reaches the desired consistency, carefully remove the jars from the oven and fill them with the hot jam using a ladle or funnel. Leave a small gap at the top to allow for expansion during cooling.
10. Seal the jars: Wipe the rims of the jars with a clean, damp cloth to remove any spills or residue. Then, place the lids on top and tighten them securely. Allow the jars to cool completely before storing in a cool, dark place.
Now you have your delicious Raspberry and Chia Jam ready to be enjoyed! Spread it on toast, pancakes, or use it as a filling for your favorite pastries. This jam will surely become a breakfast favorite in your household. Enjoy!


